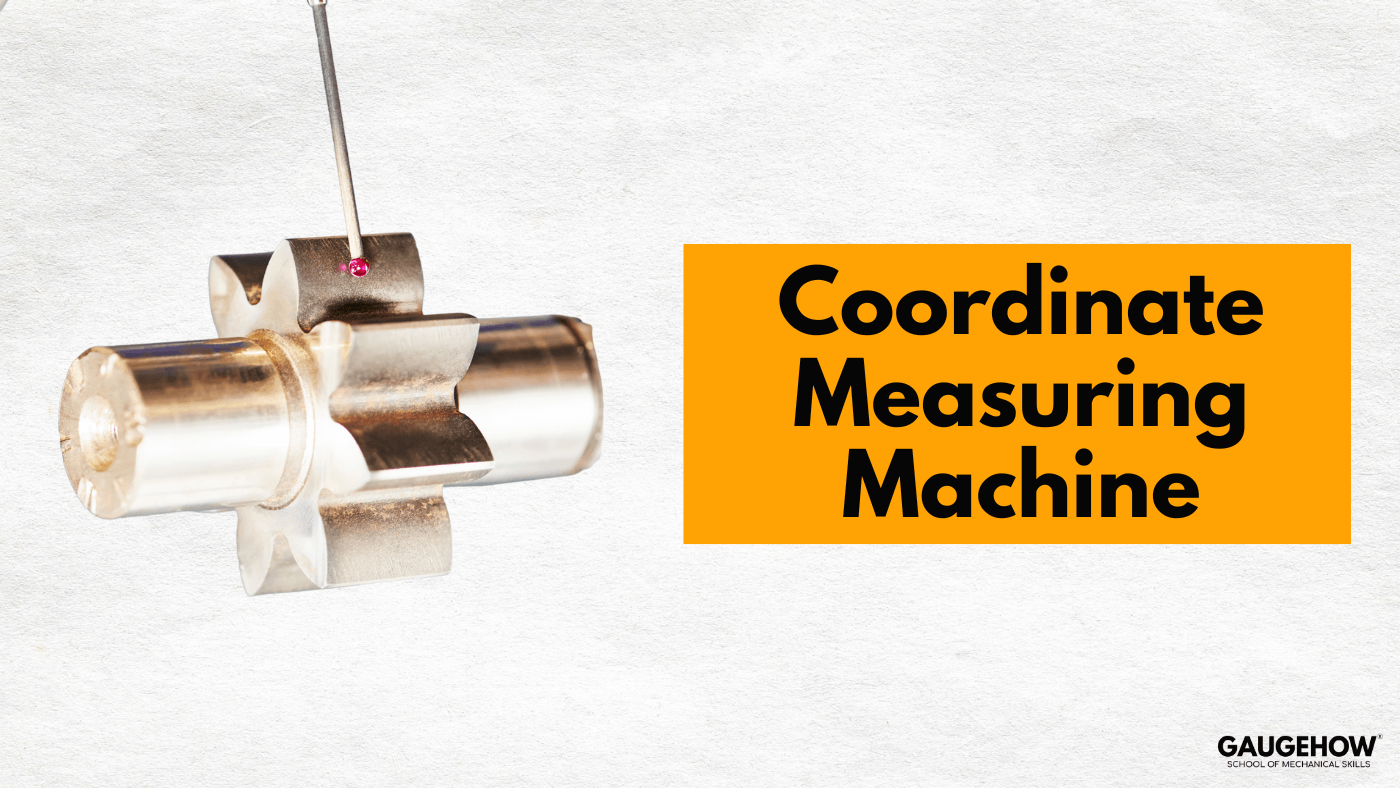
A Coordinate Measuring Machine delivers traceable precision. It verifies GD&T, controls measurement uncertainty, and supports fast, repeatable dimensional inspection. This guide blends data, field practice, and clear procedures for real engineering work.
I have used CMMs across machine shops, labs, and inspection cells. A Coordinate Measuring Machine converts physical geometry into measured truth. It shows where a part meets design and where it fails.
Precision depends on three things: rigid fixturing, the right probe, and controlled temperature.
This guide compresses my field experience into one readable reference. It uses real data, ISO rules, and manufacturer examples.
You’ll see a differentiation table, a worked uncertainty budget, and a practical check-list. Use this like a practical workshop. Apply the steps and raise confidence in every inspection.
What a Coordinate Measuring Machine (CMM) Does and Why It Matters ?
A Coordinate Measuring Machine captures XYZ coordinates and fits them to circles, planes, cylinders, and freeform surfaces. This output drives dimensional inspection and confirms GD&T intent. Reliable CMM data prevents scrap and ensures predictable assembly.
I rely on CMMs to verify supplier quality and to check production drift. Modern multi-sensor CMMs mix tactile probe points with optical scans. That gives both precision and coverage. Published case stories show dramatic improvements in cycle time and feature coverage when shops upgrade to repeatable, automated inspection.
The goal is simple: clear, traceable truth about your parts.
Types of CMM and Practical Probe Selection
Match the CMM type to part size, tolerance, and inspection environment.
- Bridge CMMs handle most workpieces with stable accuracy.
- Gantry CMMs inspect very large parts, molds, and aerospace surfaces.
- Articulating arms reach into fixtures and large assemblies.
- Vision and laser CMMs collect non-contact data for thin or delicate parts.
For probes: use a tactile probe for high-accuracy single points, a scanning probe for surface form, and an optical probe for flexible or reflective parts. Always select the shortest, stiffest stylus that still reaches the feature. This reduces dynamic error.
Manufacturers publish MPE values and formulas for each model. Use those numbers when matching accuracy to tolerances.
CMM Differentiation Table — Bridge vs Gantry vs Arm vs Vision
| Type | Typical Travel Range (mm) | Typical Travel Range (mm) | Best For |
| Bridge CMM | 300×300×200 → 1500×1500×1000 | 1.2 + 3L/1000 µm (mid-range models) | General parts, automation, stable accuracy. |
| Gantry CMM | up to >5000 mm | vendor-specific; tested per ISO 10360 | Large aerospace tools, dies, molds. |
| Articulating Arm | up to several meters | mm-level repeatability | Fixtures, large assemblies, on-site inspection. |
| Vision/Laser CMM | sensor-dependent | contact-free accuracy | Thin parts, electronics, reflective surfaces. |
Sources
(Mitutoyo, ZEISS, and Hexagon technical documents)
Workflow, ISO 10360 Calibration, and Practical Data Habits
My inspection workflow is constant because it works everywhere:
Fixture → Warm-up → Ambient log → Probe check → Repeatability test → Full measurement → Report → Archive.
Control your environment at 20 ±1 °C to limit thermal drift. Log ambient conditions and attach them to reports. ISO 10360 acceptance and reverification tests keep the machine traceable. Use calibrated artefacts and keep certificates accessible. Good metrology is not a guess. It is a repeatable discipline.
Measurement Uncertainty — Compact Budget and Worked Example
Every inspection must show uncertainty. Below is a compact real budget for a shaft diameter. Values in micrometres (µm):
- Instrument resolution: 0.5
- Probe form + stylus error: 1.0
- Temperature influence: 1.5
- Fixturing + repeatability: 1.0
- Calibration uncertainty: 1.2
Combined standard uncertainty ≈ 2.6 µm
Expanded uncertainty (k=2) ≈ 5.2 µm
Report example: 50.003 ±0.005 mm (k=2)
Repeatability (10 runs): 0.003 mm
These values follow the structure used in manufacturer specs and ISO-based uncertainty guidance.
Business Case and ROI — Real Examples and Verified Gains
I calculate ROI using real cycle-time data. Use conservative numbers:
A line inspects 200 parts/day.
Manual: 12 min/part → 2400 min/day
CMM automated: 4 min/part → 800 min/day
Saved: 1,600 min/day = 26.7 hours
At $15/hr labour → $400 saved/day → ≈ $100,000/year (250 days)
If your automation investment (CMM + fixtures + robot + software) is $150k, your payback ≈ 1.5 years. Include calibration and maintenance.
Application stories confirm strong gains when upgrading from manual checks to automated or high-speed scanning.
This is why every modern shop moves to structured CMM inspection.
Practical Check-list
- Align to drawing datums before every run.
- Use the shortest effective stylus.
- Run a 10-repeat repeatability test daily.
- Re-index probes after any change.
- Save raw CSVs with timestamps.
- Use a multi-sensor for mixed surfaces.
- Keep approach vectors short.
- Apply error-map compensation quarterly.
- Attach calibration certificates to every report.
These steps protect accuracy and make results defensible in audits.
Conclusion
A Coordinate Measuring Machine gives you measurable truth. When paired with discipline, it protects quality, reduces scrap, and strengthens process control. Use short programs, stable environments, and clear uncertainty budgets. Keep reports traceable. Teach teams to select the right probe, understand MPE, and follow ISO rules.
GaugeHow offers hands-on training, templates, and CMM practice data for real engineering work. Join our mechanical engineering courses online and start improving inspection accuracy today.
Top 6 FAQs
- What is a CMM used for? — Dimensional inspection, GD&T validation, SPC, and reverse engineering.
- How accurate are CMMs? — Check manufacturer MPE (ISO 10360). Typical practical mid-range figures: 2–5 µm + L/300; high-end repeatability can be sub-micron. (mitutoyo.com+1)
- Which probe for thin parts? — Optical or low-force scanning to avoid deformation.
- How often should a CMM be calibrated? — Weekly checks on critical lines; full ISO 10360 calibration annually or per lab rules. (ISO)
- What environment does a CMM need? — Stable 20 ±1 °C, low vibration, stable humidity. (Hexagon)
- How much ROI can I expect? — Case studies show dramatic cycle-time and labour reductions; quantify with local data and include calibration/maintenance in the model.

